Hey there, and welcome to my baking corner! Today, we’re making something extra special: mini birthday cakes! These little cakes are bursting with love, perfect for parties, or just a sweet treat for yourself. They bring joy without the fuss of giant cakes.
I adore these mini birthday cakes because I can make them just the way my kids, Leo and Lily, like them. You and I will work together, so we can make a wonderful sweet treat. These individual cake portions are simple to serve, and they’re a guaranteed hit. Let’s turn any day into a celebration with these adorable little delights! You can also try different frosting recipes, for example, some can be found on Healthline. This makes these treats even more appealing and customized for each party.
Get ready for a wonderfully simple recipe that’s easy to follow, tastes amazing, and is guaranteed to bring smiles. Let’s get baking. So grab your aprons and get excited to create something truly scrumptious! These mini birthday cakes are all yours to enjoy!
Why Mini Birthday Cakes Are Special
Mini birthday cakes are special for so many reasons! I prefer them because they are so simple and easy to do. You can make them how you want! They offer perfect portion control. Because we can bake one, or a bunch to decorate, you can customize the cakes so that they are extra tasty.
Planning Your Mini Birthday Cake Adventure
Okay, let’s plan our mini birthday cake adventure! The key is to prepare, so you are well-equipped for baking. You want everything in place and you have a clear image of what you want. That way, you and I we can have so much fun together!
First, we need to make sure that we have it all ready. These cakes are fairly forgiving, so don’t worry about perfection. I am sure to guide you along the way! We will plan together how to make delicious cakes together. I hope you enjoy it. This makes all of my kids excited to celebrate. Also, I have a simple how to make heart-shaped cake article.
Let’s select the size of your mini birthday cakes. Then, we’ll pick yummy flavors! Don’t worry; it’s easier than you think. It is a great way of making memories. Let’s plan this out!
Deciding on Cake Sizes and Servings
Mini birthday cakes offer fantastic flexibility in sizes and portions! We want them at their best, and they will be. Using a 4-inch cake pan, is awesome. Or, we can layer two 2-inch cakes for a fun stacked look. Adjust things to fit your needs which are specific for your part!
I have also cut larger cakes to a preferred size! Adjust the pan size you use, or even the amount you bake. Personalize to how ever you want!
Choosing Your Flavors
Now for the fun part: picking flavors for your mini birthday cakes! The combinations are endless! Are you a fan of the vanilla flavor? Or perhaps a classic chocolate cake? How about zesty lemon, or a rich, delightful red velvet?
Frosting should complement. Vanilla cake loves strawberry frosting. Feel free to get creative with the frosting. What flavors do you have in mind as we begin your mini birthday cake adventure?
Essential Ingredients and Tools for Mini Birthday Cakes

Now, let’s get our kitchen ready for some serious baking. Don’t worry about having everything! We can adjust with what we all have. We can also substitute for something you like. It’s just like when I make dinner for the kids, being a parent is preparing a plate that everyone loves. You’ll have your adorable mini birthday cakes to enjoy in no time! Looking to change the dish up? I also have some great breakfast dessert options.
Ingredients: The Building Blocks of Deliciousness
Here’s a straightforward list for your mini birthday cakes:
- Flour: Just your regular all-purpose flour is perfect
- Sugar: Granulated for the cake, powdered sugar for the frosting.
- Eggs: These bind everything together and add beautiful richness.
- Butter and/or Oil: They help to add flavor and keep the cake moist!
- Milk: Adds just the perfect moisture. Dairy and non-dairy options are fine!
- Vanilla Extract: This is my secret ingredient for adding that great flavor.
- Leavening Agents: Baking powder and/or baking soda to help them rise. And if you’re short on time, a cake mix makes it easy. You can add all kinds of extras!
Essential Tools: Setting Up Your Baking Station
Having the right tools makes baking so enjoyable. You’ll need these to create your mini birthday cakes:
- Mini cake pans: You should use 4-inch, but smaller sizes are also fine! Fun shapes add a unique look. You could use a heart-shaped cake pan.
- Mixing bowls: For mixing all of those amazing ingredients.
- Measuring cups and spoons: You need accuracy.
- Electric mixer (optional): It makes the mixing go so much faster.
- Offset spatula: For some clean and easy frosting!
- Piping bag and tips (optional): Decorate your heart out!
- Wire rack: Let those beauties cool down.
The Ultimate Mini Birthday Cake Recipe

Are you ready for the heart of our endeavor of making mini birthday cakes? It’s the best part, making the recipe! I hope you are as excited as I am. I find the actual work to be so fulfilling. Here’s an easy, step-by-step way to bake those awesome cakes. Baking should be fun. So settle in and enjoy.
Preparing the Cake Batter: Easy Steps
First off, making the cake batter. With this recipe, you will do well.
- Preheat and Prep: Preheat your oven to 350°F (175°C). Grease and flour the mini cake pans so that there is no sticking.
- Combine Dry Ingredients: In a medium bowl, whisk together 1 cup all-purpose flour, 1 teaspoon baking powder, and ¼ teaspoon salt.
- Cream Butter and Sugar: In a large mixing bowl, cream together ½ cup (1 stick) softened butter and ¾ cup granulated sugar . It should be light and fluffy.
- Add Wet Ingredients: Beat in the 2 large eggs one by one, then stir in 1 teaspoon vanilla extract.
- Combine Wet and Dry: Alternating, add the dry ingredients. You will combine ½ cup of Milk, always starting and finishing with the dry stuff. Mix until well crafted.
- Pour and Bake: Divide the batter evenly between the pans that you prepared. Bake from 20-25 minutes, or until a wooden skewer comes out of the center clean.
- Cool: Allow it to cool in the pans for 10 minutes before inverting. Place them on the wire rack and let them cool completely.
Frosting Your Mini Cakes & Decorations: The Artistic part.
While the cakes cool down, let’s frost them! This is where we add our own touches. This is the part that makes me excited.
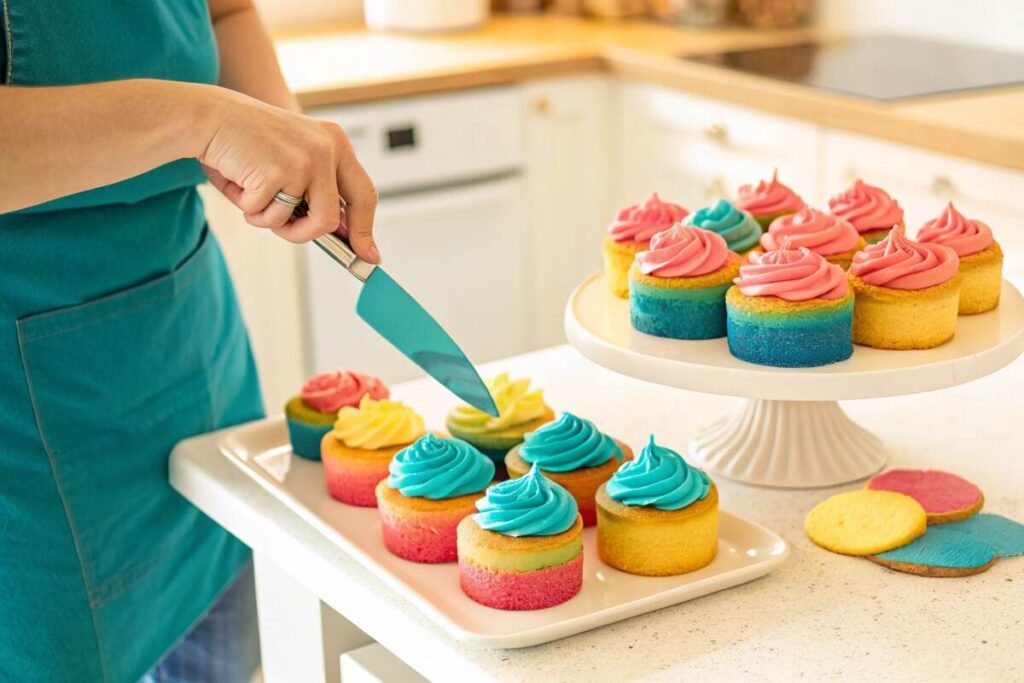
- Make the Frosting: In a large mixing bowl, beat ½ cup (1 stick) softened butter and 3 cups of powdered sugar , Add 2-4 tablespoons milk, and mix well. It has to be smooth. Add in the colors! Pink? Purple? The sky is the limit, and choose what best suits you!
- Level the Cakes: If your layers are domed, use a serrated knife to level the tops for a smooth look.
- Frost and Assemble: Place the first layer. Now, spread a big layer of frosting onto it. Add some fillings (like jam) at this stage. Top with the second one, and frost the complete cake.
- Decorate: This is where you let your thoughts run wild! Add sprinkles, candies, anything you like. Use a piping bag with a star tip for a classic look to decorate your mini birthday cakes. Looking for other ways to decorate? Try this how to pipe hearts on a cake article.
Serving Suggestions and Storage
Now it is time to enjoy your mini birthday cakes! They are best served immediately. It is best for the flavor. You can store leftovers in an airtight container at room temperature. Put them in the fridge for up to a week! Or, you can freeze your frosted cakes for longer. Just thaw and then decorate them so that you can enjoy them, they make a truly wonderful treat.
Frequently Asked Questions
Alright, let’s answer some questions about our mini birthday cakes. These are questions you might be asking, so let’s address them together!
What size is a mini cake?
The size of these mini birthday cakes can differ, but they are generally designed for one person. They’re perfect! Usually, people make them in 4-inch pans or smaller. This size means they are ready for those unique decorations and flavors. These are customizable in individual portions.
What are mini cakes called?
Mini cakes have many names. You might hear them called personal cakes, individuals cakes, or even cupcake cakes. No matter what people call them, they are delicious, because their size, and the term “mini” highlights their small size. Usually, they are ready for those smaller settings! Ready for parties.
How to make mini cake with silicone mold?
Making a mini cake using a silicone mold is oh-so-easy. You prepare your batter just as you did for this recipe. Pour your batter into your silicone molds. Make sure to leave a bit of room for the baking process and for the cake to rise properly. Then, bake the cake. Your silicone molds will make removal of the cakes extra easy. Are Silicone molds right for you? We offer a Healthline Article.
How long to bake a 4 inch cake?
Baking time, for a 4-inch mini cake, differs based on your oven and the recipe. In general, you should bake for about 20-25 minutes. Bake at 350°F (175°C). Always insert a toothpick to know when it is done. The toothpick should come out looking clean and without any batter on it!
Variations and Tips for Mini Birthday Cakes

I love to create a wide variety of mini birthday cakes! I like to add all kinds of flavors, fillings, and decorations. If you and I work together, the results will be amazing. Here are some tips to make those small cakes extra special:
- Flavor Variations: Change things up! Try almond extract, lemon, or even peppermint. It makes all the difference!
- Filling Ideas: You can add a layer of jam. Or, you can add a thin layer of lemon curd. The possibilities are endless and it’s all about fun!
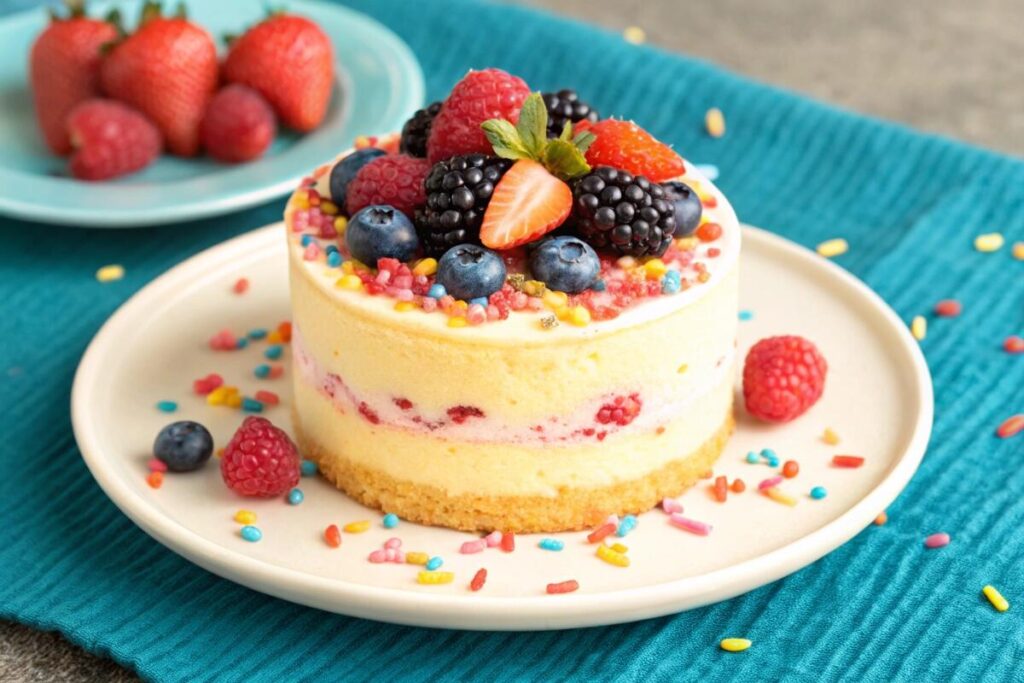
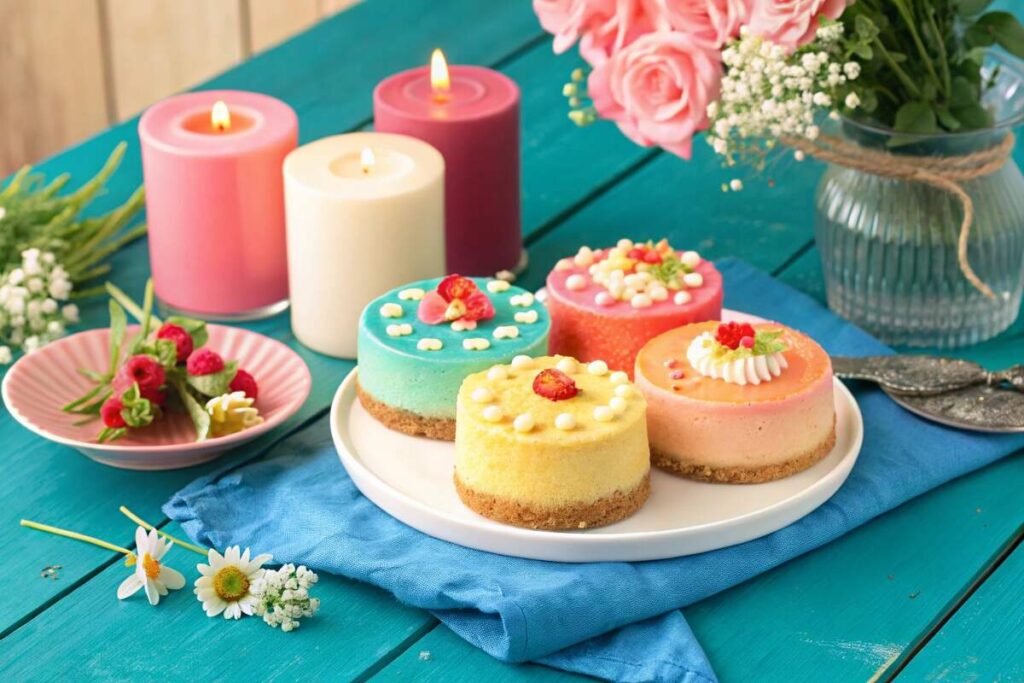
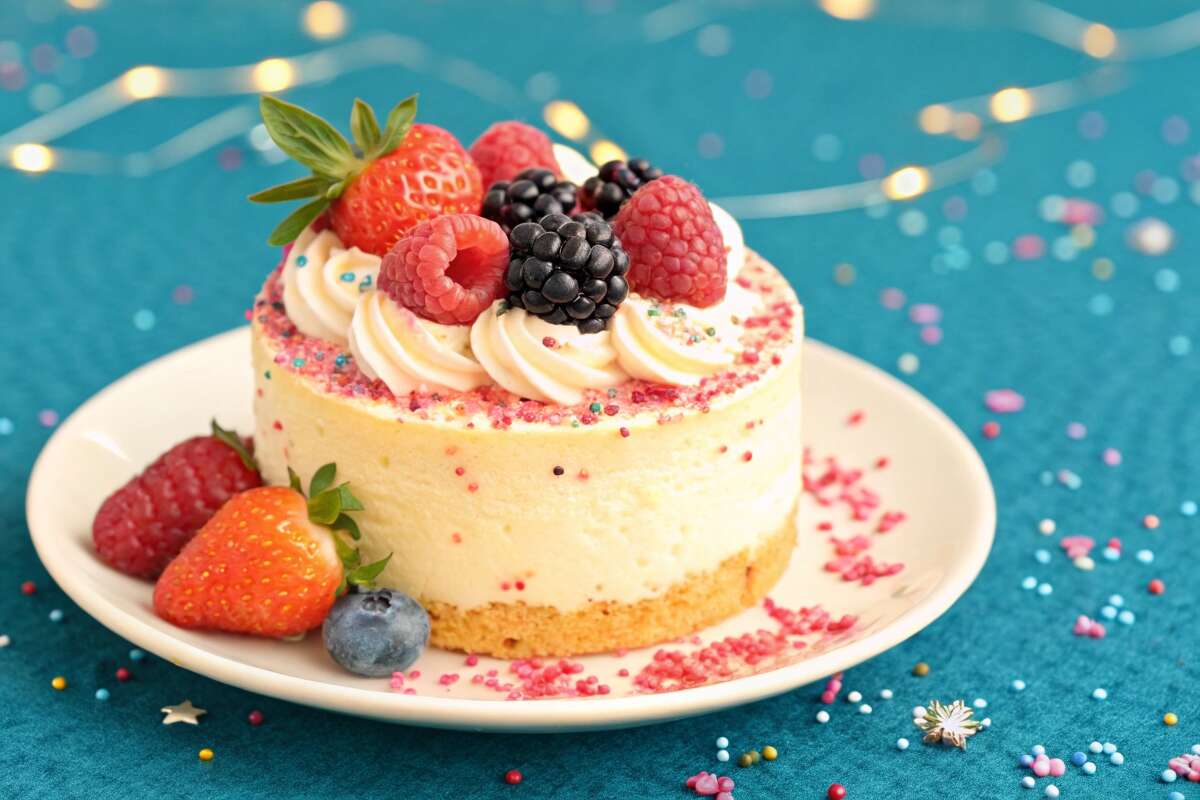
- Decoration Ideas: If you want to keep it relatively simple, you can use fresh berries, chocolate shavings, or edible flowers to give it a perfect look.
- Tip: For smooth frosting, chill the cakes. It will make so that frosting goes on super easily.
With a bit of planning, you and I can take a cake and adapt it! Let’s make some truly special mini birthday cakes that will get everyone excited.
Conclusion
Baking mini birthday cakes will be a fun experience! That is a promise. These small, personal cakes make everything feel so special. These treats are perfect for either large or small celebrations, making moments of joy. I found it very rewarding and satisfying!
Embrace the simplicity of baking. Personalize your cakes, and you are good to go! Share these cakes with loved ones and give them something that will make them happy. Happy baking, and I hope your kitchen is filled with sweetness!

