Baking at high altitude can be tricky! Cakes can fall, cookies spread too thin, and bread… well, it can be a real challenge to get that perfect loaf. That’s why I’m so excited to share this banana bread recipe high altitude with you. It’s been a game-changer in my kitchen, and it might just become your new favorite, too!
This recipe is special because it’s a blend of my Mom’s and Grandma’s classic banana bread, perfected for our mountain home. My husband, who loves banana bread, says it’s the best he’s ever had (and he’s tried a lot!). The kids are always excited when they smell this baking. Seeing those happy faces is the best reward. If you are looking for other sweet recipes, you can check our breakfast & dessert category.
It took some experimenting to get it just right. Adjusting ingredients for the lower air pressure took practice, but seeing your loaves sink in the oven will make anyone determined. But the result? A moist, flavorful loaf that rises beautifully, even thousands of feet above sea level.
Why This High Altitude Banana Bread is Different
This isn’t just any banana bread; it’s specifically adapted for high altitude baking. It’s been tweaked and tested to ensure a moist, flavorful loaf every single time. Plus, it uses simple ingredients you probably already have.
We’ve focused on easy-to-follow steps, so even if you’re new to high altitude baking, you can confidently make this delicious bread. No complicated techniques, just great banana bread!
Understanding High Altitude Baking
Baking at high altitude, generally above 3,000 feet, is different from baking at sea level. The main culprit? Lower air pressure. This seemingly small change has a big impact on how your baked goods turn out. Understanding why things happen differently is the key to success. We want to avoid flat cakes and dry breads! If you are curious about our other recipes and methods you can take a look at our About page.
Lower Air Pressure and its Effects
At higher elevations, the air pressure is lower. This means there’s less pressure pushing down on your baked goods. This causes two main problems: First, leavening agents (like baking soda and baking powder) work faster, causing your bread to rise too quickly. Second, water boils at a lower temperature, so liquids evaporate faster, leading to dry baked goods.
This quick rising and rapid evaporation can result in a loaf that rises beautifully in the oven, only to collapse as it cools. Or, you might end up with a dry, crumbly texture. That is why, changes are needed!
Adjustments Needed for High Altitude
- Increase Liquids: Add a little extra liquid (like milk, water, or even sour cream) to compensate for the faster evaporation. This will help ensure a moist final product.
- Reduce Leavening Agents: Slightly decrease the amount of baking soda or baking powder. This helps control the rising speed.
- Increase Baking Temperature: Baking at a slightly higher temperature (usually by 15-25°F) helps set the structure of the bread before it over-rises.
- Flour Adjustments (Sometimes): Some recipes may benefit from a slight increase in flour, to add a bit more structure. But, be cautious not to add too much. Often, it isn’t a necessary change.
- Watch Baking time: Be sure to Monitor the baking time, as increased termperature may shorten cooking time.
Ingredients for High Altitude Banana Bread

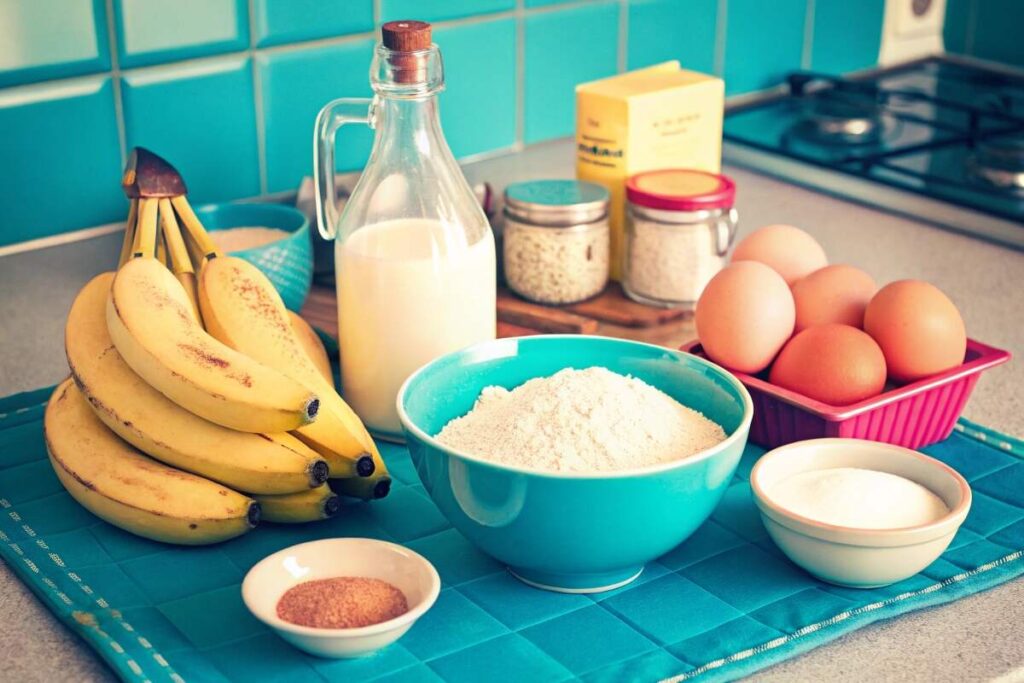
Here’s what you’ll need to make this delicious high-altitude banana bread. I’ve included specific measurements and some notes to help you choose the best ingredients. Don’t worry, most items are things you usually keep in your pantry!
- All-Purpose Flour: 2 cups (260g), spooned & leveled. See note below on flour.
- Granulated Sugar: ¾ cup (150g)
- Brown Sugar, packed: ¼ cup (50g) Light or dark brown sugar works.
- Baking Soda: ½ teaspoon
- Salt: ½ teaspoon
- Cinnamon: 1 teaspoon Optional, but adds great flavor!
- Eggs: 2 large, at room temperature
- Very Ripe Bananas: 3 medium (about 1 ½ cups mashed) The riper, the better!
- Vegetable Oil: ⅓ cup (80ml) Or any neutral-flavored oil.
- Milk: 3 tablespoons Any kind of milk will work.
- Vanilla Extract: 1 teaspoon
Flour Note: At high altitude, you might need to add 1-2 extra tablespoons of flour, but I’ve found this recipe works well without it. If your batter seems very thin, add a tablespoon at a time.
Essential Ingredients and Why They Matter
Let’s break down a few key ingredients:
- Flour: Provides structure to the bread. All-purpose is perfect.
- Sugar: Adds sweetness and moisture. The combination of granulated and brown sugar gives a lovely flavor and texture.
- Baking Soda: This is our leavening agent, helping the bread rise. We use less at high altitude.
- Ripe Bananas: These are crucial for flavor and moisture. The riper they are (think lots of brown spots!), the sweeter and more flavorful your bread will be.
- Milk: A small increase helps to battle the dry air and keep the loaf from being too dense.
Optional Add-ins and Variations
Want to customize your banana bread? Here are some ideas:
- Nuts: Add ½ cup of chopped walnuts, pecans, or your favorite nuts.
- Chocolate Chips: Stir in ½ cup of semi-sweet or milk chocolate chips.
- Spices: Add ½ teaspoon of nutmeg or ¼ teaspoon of cloves for extra warmth.
- Dried Fruit: Try adding ½ cup of raisins or dried cranberries.
- Vanilla Yogurt: Replace the milk with vanilla yogurt to give your bread a tender crumb.
High Altitude Note: For add-ins, you generally don’t need to make any special adjustments for high altitude. Just fold them into the batter gently. Just be careful not to over-mix!
Step-by-Step: Baking the Perfect High Altitude Banana Bread

Let’s get baking! Follow these steps for a loaf of banana bread that’s sure to impress. Remember, even at high altitude, this recipe is designed to be easy and enjoyable.
Preparing the Oven and Pan
First, preheat your oven to 350°F (175°C). Grab a 9×5 inch loaf pan and grease it well with butter or cooking spray. Then, add a spoonful of flour and tap it around to coat the inside of the pan, shaking out any excess. This prevents sticking.
Mashing the Bananas
Peel your three very ripe bananas and place them in a medium-sized bowl. Use a fork or potato masher to mash them until they’re mostly smooth, with just a few small lumps remaining. Don’t over-mash; a little texture is good! Set these aside.
Combining the Wet Ingredients
In a large bowl, whisk together the two eggs until they’re light and frothy. Add the ⅓ cup of vegetable oil, 3 tablespoons of milk, and 1 teaspoon of vanilla extract. Finally, add in the mashed bananas. Stir everything together until it’s well combined.
Combining the Dry Ingredients
In a separate, medium-sized bowl, whisk together the 2 cups of flour, ¾ cup of granulated sugar, ¼ cup of packed brown sugar, ½ teaspoon of baking soda, ½ teaspoon of salt, and 1 teaspoon of cinnamon (if using). Make sure everything is evenly distributed.
Mixing Wet and Dry Ingredients
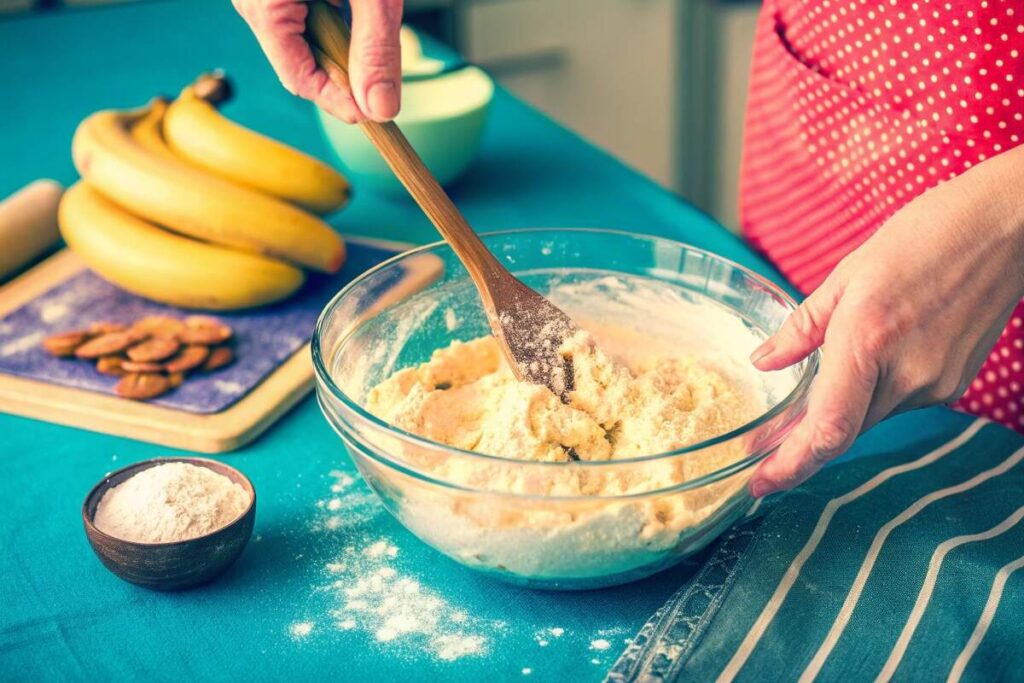
Gradually add the dry ingredients to the wet ingredients, mixing with a large spoon or spatula until just combined. Be very careful not to overmix! A few streaks of flour are perfectly fine. Overmixing develops the gluten and can lead to a tough or dense loaf. Fold gently until everything is moistened. For another great classic recipe, check out our take on vintage cake recipes.
Baking and Checking for Doneness
Pour the batter into your prepared loaf pan and spread it evenly. Bake for 50-60 minutes at 350°F (175°C). Because of the high altitude, keep a close watch. Start checking for doneness around 50 minutes.
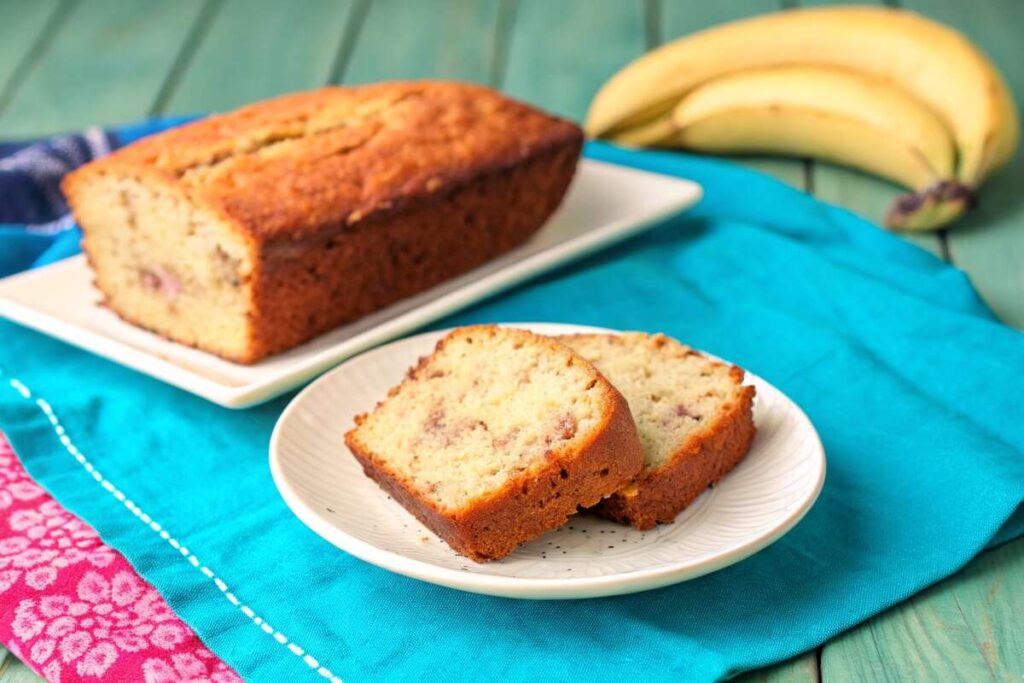
To check, insert a wooden toothpick into the center of the loaf. If it comes out clean or with just a few moist crumbs attached, it’s done! If there’s wet batter on the toothpick, bake for another 5-minute intervals, checking again each time. Let the bread cool in the pan for 10-15 minutes before transferring it to a wire rack to cool completely. Enjoy!
Tips for High Altitude Banana Bread Success

Even with a great recipe, high altitude baking can sometimes throw you a curveball. Here are some extra tips to guarantee your banana bread turns out perfectly every time!
Preventing Dry Banana Bread
The biggest complaint about high-altitude baking is dryness. To combat this, we’ve already added extra liquid to this recipe. Make sure your bananas are *very* ripe, as they contribute significantly to moisture. Also, be careful not to overbake! Start checking for doneness a few minutes early. A moist crumb is what we’re aiming for. Bananas are a good source of several vitamins and minerals, especially potassium, vitamin B6, and vitamin C according to Healthline.
Avoiding a Sunken Center
A sunken center is often a sign of too much leavening or an oven temperature that is too low. We’ve reduced the baking soda in this recipe, but make sure your oven is properly preheated to 350°F (175°C). Also, avoid opening the oven door frequently during baking, as temperature fluctuations can cause sinking. Resist the urge to peek! If you’re looking for unique appetizer ideas, we’ve got you covered with our guide to skewered appetizers.
Achieving a Beautifully Browned Crust
For a lovely golden-brown crust, make sure your oven temperature is accurate. A slightly darker loaf pan can also help promote browning. If your bread is browning too quickly, you can loosely tent it with foil for the last 15-20 minutes of baking. Don’t tightly wrap, the tent helps keep it from becoming too dark while allowing the inside to finish baking. The combination of sugars will encourage that nice color, too. The crust will be the best part!
Frequently Asked Questions
What to do when baking bread in high altitude?
When baking bread at high altitude, you need to make a few key adjustments. Increase the liquid slightly, reduce the leavening agent (like baking soda), and increase the oven temperature by 15-25°F. Also, keep a close eye on the baking time, as it may be shorter. These changes help ensure a moist, well-risen loaf. For more breakfast options, be sure to explore our build the perfect breakfast plate guide.
What is the number one mistake made when making banana bread?
The most common mistake is overmixing the batter. Once you combine the wet and dry ingredients, mix only until just combined. Overmixing develops the gluten in the flour, resulting in a tough, dense, and sometimes rubbery banana bread. Gentle mixing is key for a tender crumb. Remember a few streaks of flour are fine.
What is the secret to moist banana bread?
The secret to moist banana bread lies in three things: First, use very ripe, almost overripe bananas – they have more moisture and sweetness. Second, ensure you have the right amount of liquid in your recipe (we’ve adjusted for this at high altitude). Third, don’t overbake! Overbaking will dry out your bread. While this recipe uses oil, some people prefer butter for added flavor and richness, Healthline explains the differences.
Is it better to bake banana bread in glass or metal?
For this recipe, a light-colored metal loaf pan is best. Metal heats up quickly and distributes heat evenly, promoting even baking. Glass pans can sometimes cause the edges to overbake and become too dark before the center is cooked. If you only have a glass pan, reduce the oven temperature by 25°F and keep a very close watch, checking frequently for doneness.
Storing and Serving Your High Altitude Banana Bread
Once your banana bread is completely cool, wrap it tightly in plastic wrap or place it in an airtight container. It will stay fresh at room temperature for up to 4 days. For longer storage, you can freeze it! Wrap the whole loaf (or individual slices) tightly in plastic wrap and then in foil, and freeze for up to 3 months. If you enjoy this recipe, you might also love our butter pecan pound cake recipe.
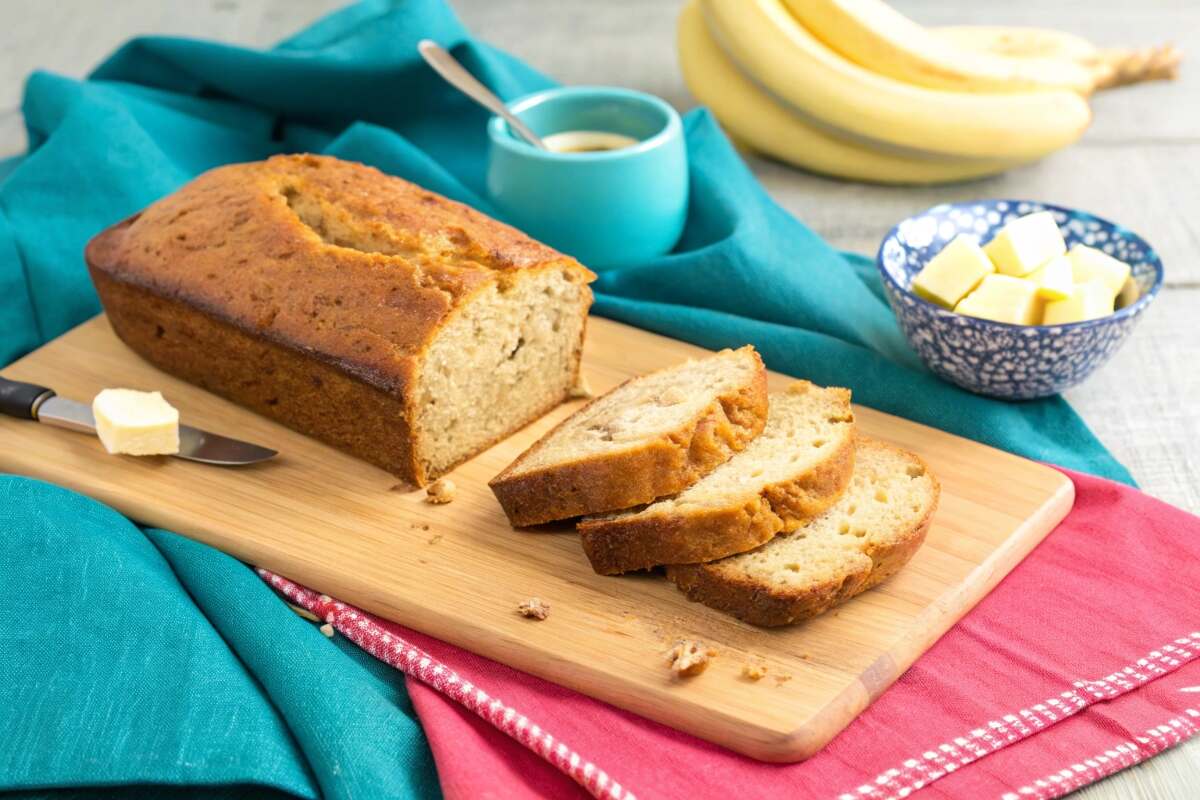
To serve, my family loves it warm with a little butter. It’s also delicious toasted with cream cheese or a drizzle of honey. To reheat, simply warm individual slices in the microwave for 20-30 seconds or a wrapped portion in the oven at 350°F (175°C) for 10-15 minutes. Enjoy the fruits of your labor – even my picky eater daughter goes back for seconds!

