Cake decorating is as much about creativity as it is about skill, and piping hearts is a delightful way to add charm to your baked creations. Whether you’re crafting a romantic treat for Valentine’s Day, an anniversary, or just because, learning how to pipe hearts on a cake can transform a simple dessert into a showstopper.
In this guide, we’ll explore everything you need to know to master the art of piping hearts. From choosing the right tools and techniques to experimenting with creative designs, you’ll gain confidence and skill to create cakes that dazzle. Let’s get started!
1: Introduction to Piping Hearts on Cakes
Piping hearts is one of the simplest yet most effective techniques for decorating cakes. It’s versatile, allowing you to embellish cakes of any shape, size, or theme. Let’s start with the basics!
What is Piping in Cake Decoration?
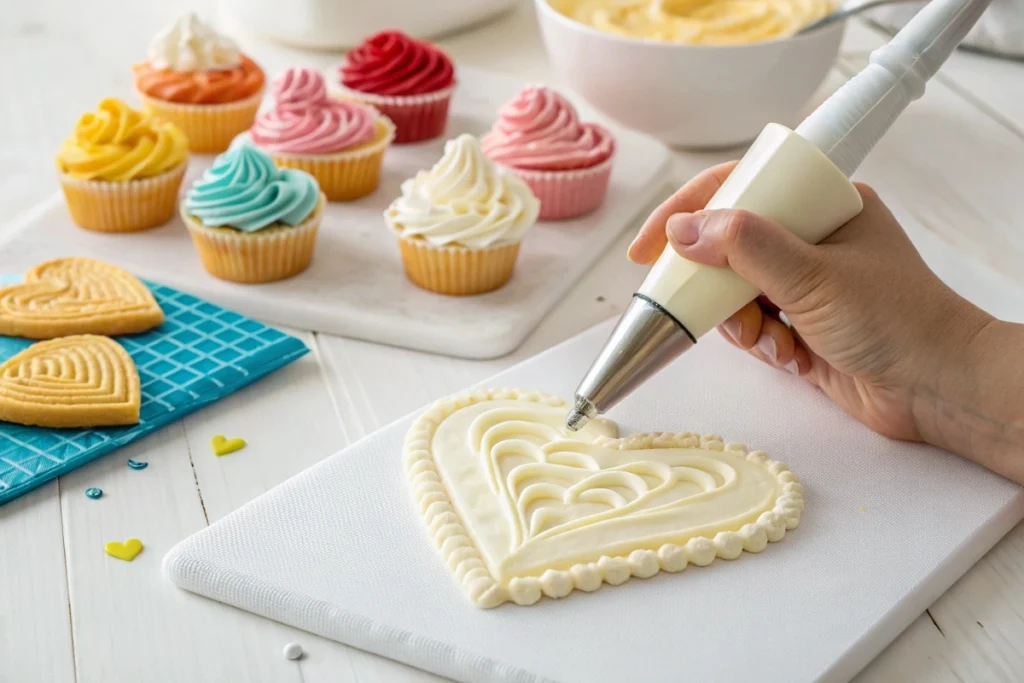
Piping is the process of using a piping bag filled with frosting or other decorating mediums to create intricate designs on cakes. By squeezing the bag and controlling the flow, you can draw, write, or sculpt shapes onto your cake’s surface. The heart, a universally recognized symbol of love, is a favorite among decorators for its timeless appeal.
Why Choose Heart Shapes for Your Cake?
Heart designs are perfect for a range of occasions, from romantic celebrations to whimsical birthdays. They bring a sense of warmth and joy to your cakes while being simple enough for even beginners to attempt. Plus, you can adapt them—make them colorful, textured, or paired with other decorations like flowers or stars.
Essential Tools and Ingredients for Piping Hearts
Before you dive in, gather the right tools:
- Piping bags: Disposable or reusable ones work great.
- Piping tips: Round or star tips are ideal for creating hearts.
- Buttercream or frosting: Use a recipe that holds its shape but isn’t too stiff.
- Cake turntable: For smooth and even application.
- Practice mat: Practice your hearts before piping on the cake.
With these essentials, you’re ready to take the next step in creating eye-catching heart designs.
2: Getting Started with Piping Hearts

Before diving into decorating your cake, it’s essential to prepare your tools and practice the techniques. A little preparation goes a long way in ensuring your piped hearts look professional.
Preparing Your Buttercream or Frosting
The frosting is the star of any piping design. Choose a buttercream recipe that is smooth, creamy, and firm enough to hold its shape. American buttercream is a popular choice for beginners because it’s easy to make and pipe. If you’re aiming for a softer look, Swiss or Italian meringue buttercream is a great option.
Tips for perfect frosting preparation:
- Sift powdered sugar to avoid lumps.
- Beat until the frosting is fluffy but not overly stiff.
- Add food coloring if desired, but avoid thinning out the consistency.
Choosing the Right Piping Tips and Bags
The size and shape of your piping tip play a key role in your design. For basic hearts, a small round tip works wonders, while a star tip adds a touch of texture. Use disposable piping bags for easy cleanup or reusable ones for an eco-friendly option.
Pro tip: Double-bagging can help prevent tears if your frosting is thick.
Practicing the Technique Before Decorating Your Cake
Even seasoned decorators know the value of practice. Use a practice mat or wax paper to perfect your technique before working on the actual cake. Practice squeezing, releasing, and forming a heart in one smooth motion. Remember, steady pressure is key to uniform designs.
With your frosting prepared and tools ready, you’re all set to start creating beautiful heart designs!
3: Techniques for Piping Perfect Hearts
Now that your tools and frosting are ready, let’s dive into some techniques to pipe stunning hearts. Whether you’re a beginner or an experienced baker, mastering these methods will elevate your cake-decorating game.
Basic Method for Piping Hearts Using Round Tips
Start simple! With a small round piping tip, create a heart by squeezing the frosting into a “V” shape. Here’s how:
- Hold the piping bag at a 45-degree angle.
- Apply even pressure to form the top curve of the heart.
- Gradually release pressure while pulling the bag downward to complete the point.
This method works perfectly for outlining or creating minimalistic designs.
Advanced Techniques: Ribbon and 3D Buttercream Hearts
Ready to add a little flair? Use a petal or star tip to create textured, ribbon-like hearts. These techniques are ideal for themed cakes where depth and design variety are essential. For 3D hearts, layer your frosting to build height and create a standout design.
Tips for advanced techniques:
- Use contrasting colors for added impact.
- Add small dots or accents around the hearts for extra detail.
Common Mistakes and How to Avoid Them
Don’t worry if your first few attempts look less than perfect—practice makes progress! Here are some common mistakes to watch out for:
- Uneven pressure: This can result in misshapen hearts. Maintain a steady hand and even squeeze.
- Wrong frosting consistency: Too stiff and it’s hard to pipe; too thin, and it won’t hold its shape.
- Not practicing: Taking a few minutes to practice will save time (and frustration!) later.
By refining your technique and paying attention to detail, you’ll soon be creating flawless hearts that impress everyone.
4: Creative Ideas for Heart Designs on Cakes

Decorating a cake with heart designs doesn’t have to stop at the basics. With a little imagination and the right techniques, you can create unique designs that make your cakes truly special. Let’s explore some creative ways to elevate your heart piping game.
Alternating Colors and Patterns for a Unique Look
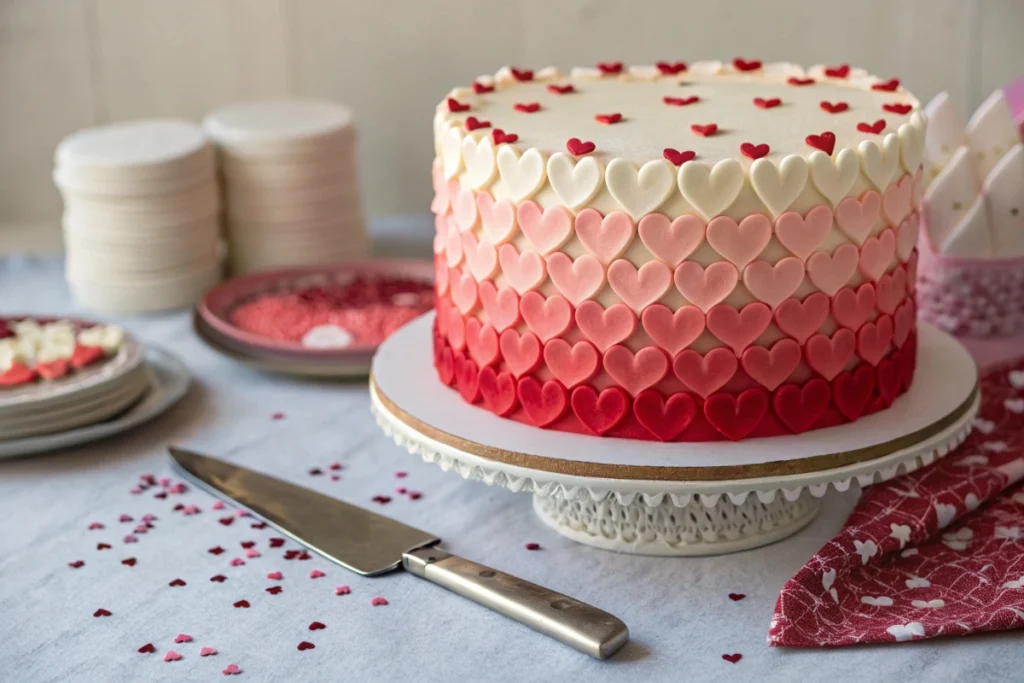
Using multiple colors can turn a simple cake into a visual masterpiece. Alternate shades of pink, red, and white for a classic Valentine’s look, or choose contrasting colors like teal and yellow for a modern twist.
Tips for alternating patterns:
- Pipe a row of hearts in one color, then switch to another for the next row.
- Experiment with ombre effects by gradually mixing food coloring into your frosting.
This approach is perfect for creating vibrant, eye-catching designs that suit any celebration.
Using Edible Glitter or Sprinkles with Piped Hearts
Add some sparkle! After piping your hearts, lightly sprinkle edible glitter or sanding sugar to give your cake a shimmering finish. You can also press small sprinkles or pearls onto the frosting for a playful touch.
To keep things tidy, sprinkle your decorations while the frosting is still soft, so they adhere easily.
Themed Cakes for Valentine’s Day, Anniversaries, or Weddings
Heart designs are incredibly versatile for themed cakes. For Valentine’s Day, create a cascading effect with piped hearts flowing from the top of the cake to the sides. For weddings, pair hearts with elegant piped flowers or lacework.
By combining heart piping with other design elements, you can craft a cake that feels tailor-made for any occasion.
For a complete guide on creating a beautiful heart-shaped cake as your canvas, check out our detailed recipe on how to make a heart-shaped cake
5: A Detailed Recipe for Buttercream Frosting
Having the right frosting is crucial when learning how to pipe hearts on a cake. Buttercream is the go-to choice for many decorators because of its smooth texture and versatility. Let’s dive into a simple yet foolproof recipe.
Ingredients and Equipment
For the best results, gather these ingredients and tools:
- 1 cup (230g) unsalted butter, softened
- 4 cups (500g) powdered sugar, sifted
- 2–3 tbsp (30–45ml) heavy cream or milk
- 1 tsp vanilla extract (or another flavoring of choice)
- Pinch of salt
Equipment:
- Electric mixer (stand or hand)
- Piping bags and tips
- Mixing bowls
Step-by-Step Instructions for Perfect Buttercream
- In a large bowl, beat the softened butter with an electric mixer on medium speed until creamy.
- Gradually add sifted powdered sugar, one cup at a time, mixing well after each addition.
- Add the heavy cream, vanilla extract, and a pinch of salt. Mix until the frosting reaches a fluffy, spreadable consistency.
- If coloring is desired, add gel food coloring and mix until evenly combined.
Pro tip: If your buttercream is too stiff, add a tablespoon of cream at a time. If it’s too soft, sift in a little more powdered sugar.
Tips for Achieving the Right Consistency for Piping
The key to flawless heart designs lies in the consistency of your frosting:
- For sharp, defined edges, your buttercream should be firm but not dry.
- Avoid overmixing, as it can introduce air bubbles that make piping uneven.
For more delicious recipes, check out our collection of cake decorating tips and ideas on our website!
6: FAQs: Piping Hearts and Related Techniques
When learning how to pipe hearts on a cake, questions often arise about the best techniques and troubleshooting common issues. Here are answers to some frequently asked questions to help you master heart designs like a pro.
How Do You Pipe Flowers Directly onto a Cake?
To pipe flowers directly on a cake, use a petal tip or star tip, depending on the type of flower you want to create. Begin by placing your piping bag at a 90-degree angle to the cake surface. For petals, make short, sweeping motions, starting from the center of the flower and working outward.
Pro tip: Use a flower nail for practice before moving to the cake surface. This ensures your flowers are well-proportioned.
How to Make a Heart on a Cake?
Creating a heart design on a cake involves using a piping bag fitted with a round or star tip. Hold the bag at a 45-degree angle and gently squeeze to form one side of the heart. Repeat for the other side, ensuring both halves meet at the bottom point.
Adding a slight twist to your wrist while forming the top curves can give your heart a fuller, more symmetrical look.
How Do You Line a Heart-Shaped Cake Tin?
To line a heart-shaped tin, cut a sheet of parchment paper slightly larger than the base. Place the tin on the paper and trace its outline. Cut along the line, then press the paper into the tin. Grease the sides of the tin or use parchment strips to ensure easy release.
Lining your tin properly prevents sticking, making it easier to transfer your cake for decorating.
Should You Chill Buttercream Before Piping?
Chilling buttercream can help if it’s too soft, but avoid over-chilling, as it can become stiff and difficult to work with. Ideally, let the buttercream sit at room temperature for 10–15 minutes after chilling to regain a smooth, pipeable texture.
Remember, the consistency of your frosting is key to achieving clean, well-defined heart designs!
7: Long-Tail Keywords for Optimization
When writing about how to pipe hearts on a cake, including related keywords can help your content rank better in search results. Here’s a list of long-tail keywords to consider:
- Piping techniques for cake decorating
- Heart-shaped cake decoration ideas
- Best buttercream for piping designs
- Romantic cake decoration tutorials
- Beginner-friendly piping tips for cakes
- Tips for perfect buttercream hearts
- Wedding cake heart designs
- Valentine’s Day cake ideas
8: Troubleshooting Common Piping Issues
Learning how to pipe hearts on a cake can come with challenges, but don’t let small setbacks discourage you. Understanding how to fix common problems will save time and ensure your designs look beautiful every time.
Why Do My Hearts Look Uneven?
Uneven hearts often result from inconsistent pressure while piping or an unsteady hand. To fix this:
- Practice applying even pressure by piping circles or lines before attempting hearts.
- Use a steady, gentle squeeze to maintain uniformity in your designs.
- If your hand shakes, rest your elbow on a steady surface to keep control.
What If the Buttercream Is Too Soft or Too Stiff?
The consistency of your buttercream plays a crucial role in how well your designs hold. If it’s too soft, the hearts may spread or lose definition. If it’s too stiff, the frosting may break as you pipe.
- To soften stiff buttercream, add a teaspoon of milk or cream and mix thoroughly.
- To thicken soft buttercream, sift in a little powdered sugar until the desired consistency is reached.
How Do I Fix Mistakes on the Cake?
Mistakes happen! If a heart doesn’t turn out as planned, use these tips to fix it:
- Gently scrape off the frosting with a small offset spatula and try again.
- Use extra decorations like sprinkles or piped stars to cover minor flaws.
Troubleshooting these issues will make your piping experience smoother and more enjoyable.
9: Finishing Touches for a Perfect Cake
Now that you’ve mastered how to pipe hearts on a cake, it’s time to add the final touches that will make your creation truly shine. These finishing elements can elevate your design and leave a lasting impression.
Adding Borders and Accents
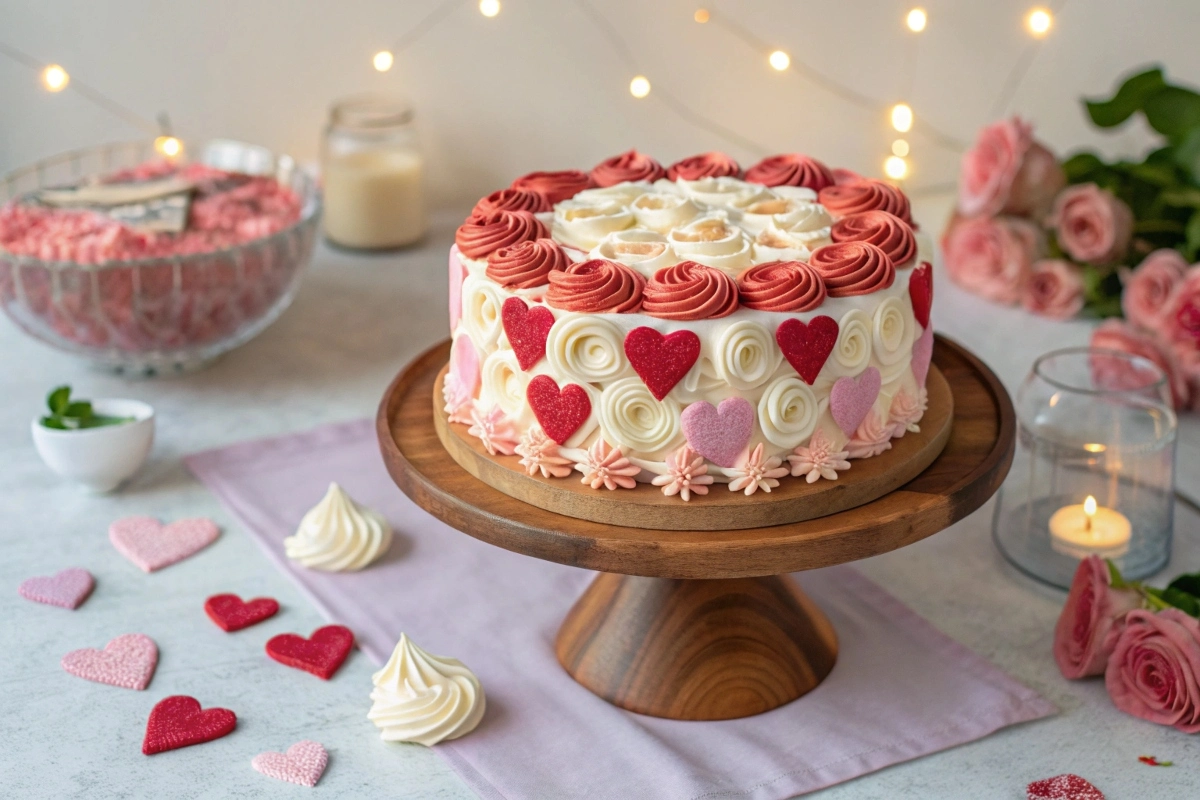
To frame your piped hearts, add decorative borders around the edges of your cake. Use a star tip to create rosettes, scallops, or beaded designs. These borders can tie the whole look together and give your cake a polished appearance.
Consider piping smaller hearts or dots in complementary colors to accent your main design. This adds texture and depth to your cake’s overall look.
Using Edible Toppers or Decorations
While the piped hearts are the star of the show, edible decorations can enhance the theme. Consider adding:
- Edible glitter for a touch of sparkle.
- Fondant hearts or flowers for extra dimension.
- Fresh berries or flowers that complement the frosting colors.
Presenting Your Cake Beautifully
Finally, the way you present your cake can make all the difference. Place it on a clean cake stand or decorative plate. For a professional touch, use a cake box with a window for gifting or display.
These finishing touches not only enhance your design but also show off the effort you put into creating a cake that’s as delicious as it is beautiful.


1 thought on “How to Pipe Hearts on a Cake: A Step-by-Step Guide for Stunning Decorations”